Registration
Registration
GUI
Since TEXTA Toolkit is a web application, we have to navigate to the corresponding address in our browser (e.g. http://localhost/). We are welcomed by a login page as depicted in Figure 1.
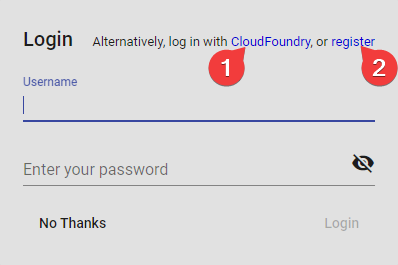
Fig. 24 Figure 1. Login Screen at Startup
One can also register new users using the registration screen:
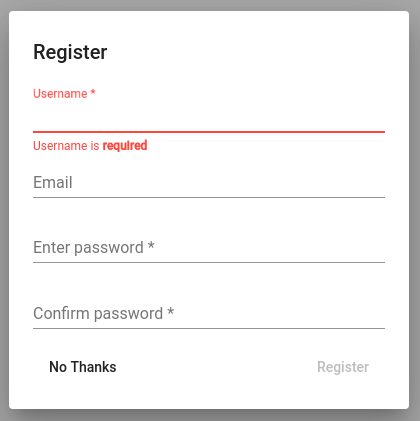
Fig. 25 Figure 2. Registration Screen
Note
When running for the first time, check the default superuser account admin created during installation.
After login have several navigation options in the upper panel. We can see our projects (also projected as the home page) and we can work with our projects via Search, Lexicons, Models and Tools.

Fig. 26 Figure 3. Top Panel for Navigation
API
Endpoint: /rest-auth/registration/
Example:
curl -X POST "http://localhost:8000/api/v1/rest-auth/registration/" \
-H  "accept: application/json" \
-H  "Content-Type: application/json" \
-d '{
        "username": "myname",
        "email": "myname@example.com",
        "password1": "a123s456789",
        "password2": "a123s456789"
    }'
Response:
{"key":"7cd98b388e85b82bd084c80418d56a185b3a35ba"}
Response is the Token key that you will later need to authenticate requests.
Logging in
GUI
TODO
API
Endpoint: /rest-auth/login/
Example:
curl -X POST "http://localhost:8000/api/v1/rest-auth/login/" \
-H "Content-Type: application/json" \
-d '{
        "username": "admin",
        "password": "1234"
    }'
Response:
{"key":"8229898dccf960714a9fa22662b214005aa2b049"}
Response is the Token key that you will later need to authenticate requests.